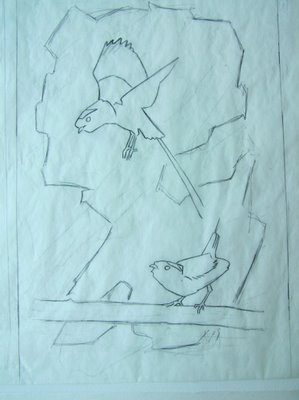
Now that I have a sketch I like, it's time to transfer the drawing to watercolor paper. I do this by turning the tracing paper sketch over and running dark pencil over the lines. When I place this tracing paper over the watercolor paper and press down with my pencil, the dark pencil I've put on back transfers to the clean watercolor paper. You can see that there's not much detail in the sketch. Why draw it twice? I'll firm up the detail directly on the watercolor paper, once I'm done painting the background. There are a couple of reasons for this. Most importantly, I don't want to spend any time refining the drawings before I paint the background. If I mess up the background, so what? I'll paint another. At this point, I don't mess up too many paintings, because I spend a lot of time thinking about how I want it to look before ever picking up a brush!
First, I stretch the paper (Winsor Newton Cold Press) by spraying the back of it with water, then using paper tape to stick it down on a thin piece of Masonite. It's all rumply at first, but when it dries it's nice and flat. This is important, because a wet wash will run into the valleys, and color will pool there, where I may not want darks. I want to tell the paint where to go, not the other way around.
When it's completely dry, I mask out the birds. Masking means that I use film and liquid masking medium to keep paint from getting on the spaces where the manakins will go.
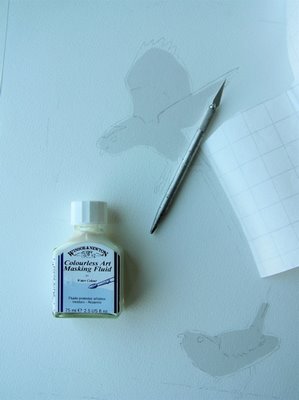 Here, the film is laid down over the manakins, and they're waiting for their edges to be sealed with liquid medium. Over the years, I've learned that masking film won't keep paint off the paper on even slightly rough surfaces like cold-press watercolor paper. The paint creeps under the film thanks to the bumpy paper surface, making more problems than the masking film solves. So the trick I use to get around that is to use liquid masking medium around the edges of the film. I cut the film with a razor blade, a little smaller all around than the bird's outline.
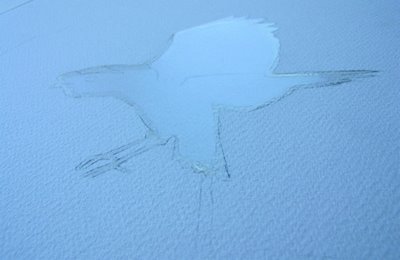 Then I paint the rubber-cement-like masking medium all around the edge. It seals it off nicely.
Now, I get to paint a crazy active wash all over the place without worrying about getting paint on my birdspaces. I'm planning this so the darkest greens are near the brightest, lightest parts of the birds.
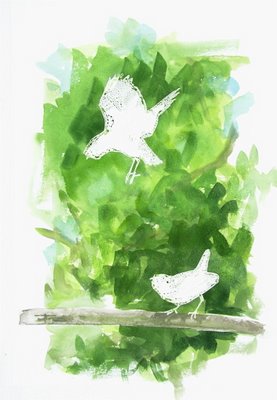 Here, you can see the pools and puddles of paint on the masking materials. When I peel them off, there will be nothing but clean white paper beneath. Watercolor looks spontaneous, but it has to be carefully planned in advance, so that when you're painting lightning-fast, you have a vision in mind of what the end product will be. I absolutely love the "cooking" part of the process, when I'm thinking about how best to highlight the subject. Working it out in fast pencil roughs is really fun. Sometimes I like the pencil sketches better than the finished product. In this case, though, the final product came out pretty much like I wanted it to. More anon!





0 comments:
Post a Comment